Installation
Get Nomploy up and running on your server within minutes with this easy-to-follow installation guide.
Nomploy runs on your own Linux server. A single command installs everything it needs — Docker, Consul, Nomad, the CNI plugins, Traefik, Postgres, Redis and the Nomploy panel — and gets you to a running control plane in minutes.
Virtual Private Server (VPS)
Nomploy installs on a fresh Linux VPS. We have tested the following distributions:
- Ubuntu 24.04 LTS
- Ubuntu 23.10
- Ubuntu 22.04 LTS
- Ubuntu 20.04 LTS
- Ubuntu 18.04 LTS
- Debian 12
- Debian 11
- Debian 10
- Fedora 40
- CentOS 9
- CentOS 8
Providers
Nomploy runs on any VPS. Some popular options:
Requirements
The first node runs the panel, Postgres, Redis, Traefik and the Nomad/Consul server, so it needs a little headroom:
- At least 2 vCPU and 4 GB RAM for the first (control-plane) node
- At least 30 GB disk so image builds don't freeze the system
- Root or
sudoaccess over SSH - A public IP (a domain is optional but recommended for HTTPS)
Suggestion: For reliable service at a good price, we recommend Hetzner as the best value-for-money VPS provider.
Port Requirements
Before installing, make sure these ports are free on your server:
- Port 80 — HTTP (Traefik, used for Let's Encrypt challenges)
- Port 443 — HTTPS (Traefik)
- Port 3000 — Nomploy panel
The installation will fail if any of these ports are already in use. Stop any service using them before running the install script.
Install
Run this on your server:
curl -sSL https://nomploy.com/install.sh | shThe script installs Docker, Consul, Nomad and the CNI plugins, then starts Traefik, Postgres, Redis and the Nomploy panel as Nomad jobs. It is idempotent — safe to re-run.
Private image: Nomploy is published to ghcr.io/nomploy/nomploy. If you
use a private image, either make the package public in your GitHub settings or
run docker login ghcr.io before installing. You can override the image with
the NOMPLOY_IMAGE environment variable.
See Manual Installation if you want to customize your setup.
Installing a specific version
Every Nomploy release ships its
own install.sh as a release asset, which installs exactly that version with the
setup it expects. Replace the tag with the one you want:
curl -sL https://github.com/Nomploy/nomploy/releases/download/v0.26.6/install.sh | shThe main script at nomploy.com/install.sh always targets the latest release,
so use the per-release install.sh above to pin an older version.
Updating Nomploy
Because the panel runs as a self-updating Nomad job, you can update in place:
curl -sSL https://nomploy.com/install.sh | sh -s updateTo update to a specific version, use the install.sh from that version's
GitHub release:
curl -sL https://github.com/Nomploy/nomploy/releases/download/v0.26.6/install.sh | sh -s updateCompleting the Setup
Accessing Nomploy
Once the script finishes, open http://<your-server-ip>:3000 in your browser.
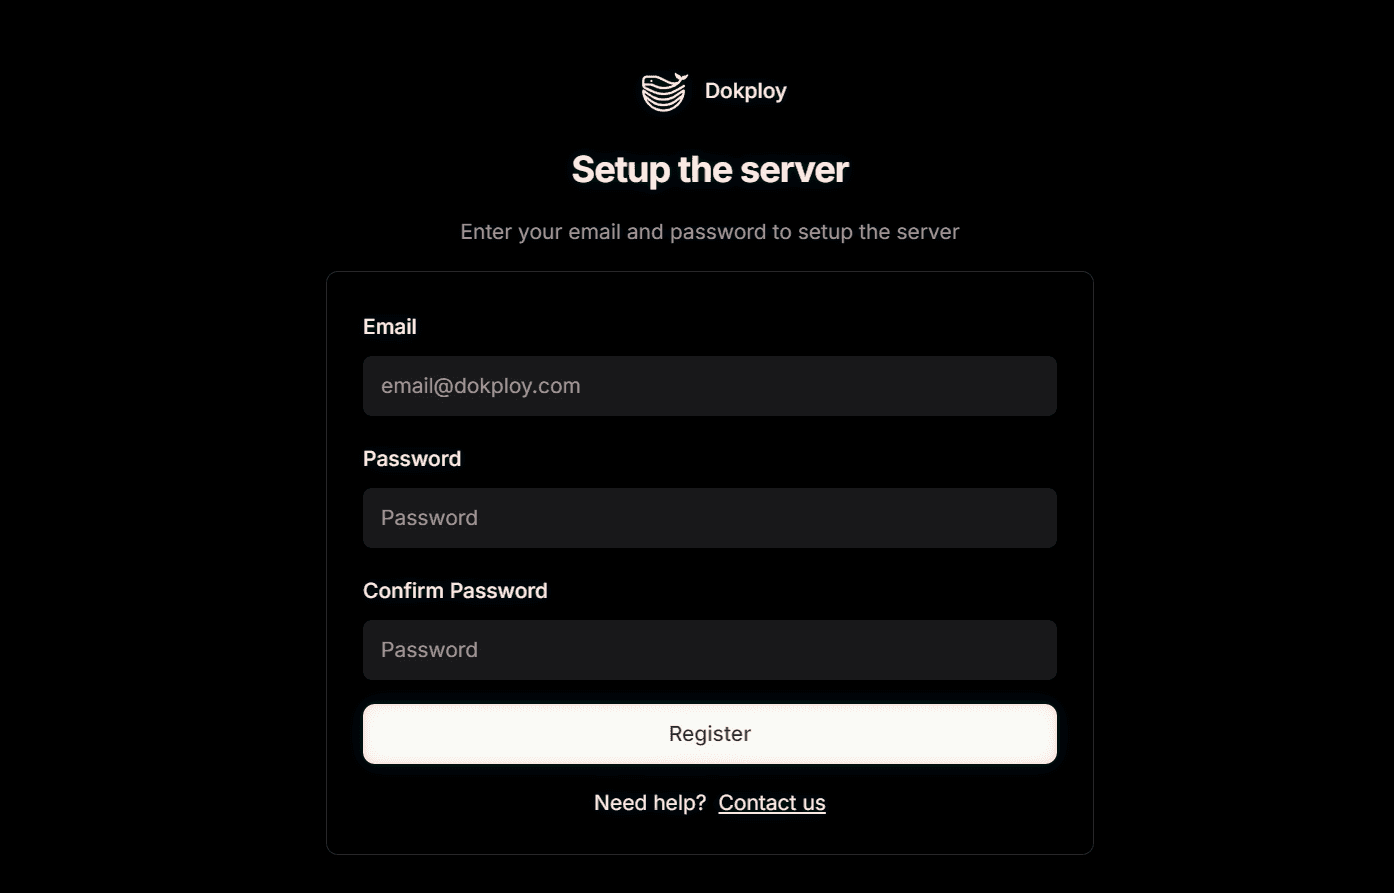
You'll land on the initial setup page, where you create your administrator
account.
Important: Ensure your server's firewall allows traffic on port 3000 to reach the Nomploy panel.
Initial Configuration
- Create an admin account — fill in the details to set up your administrator account. This is the primary admin account for Nomploy.
Secure Your Installation
After creating your admin account, secure Nomploy by enabling HTTPS. Add a DNS A record pointing your domain to the server's IP, then configure the domain in Settings → Server / Domains. Traefik will automatically request a Let's Encrypt certificate.
For detailed SSL options (Let's Encrypt, Cloudflare, custom certificates), see the Domains section.
Scaling out
To add capacity, join more nodes into Nomploy's encrypted WireGuard mesh as servers or workers, and Nomad schedules workloads across them. See Cluster for multi-node setup, and Architecture to understand how the pieces fit together.