Cluster
Add server and worker nodes to scale Nomploy across multiple machines.
When you start with Nomploy, everything runs on a single node — the control plane. To add capacity or high availability, you can grow into a multi-node cluster: Nomploy joins each node into an encrypted WireGuard mesh and schedules workloads across them with Nomad.
Not sure whether you need a cluster, remote servers, or a single Nomploy server? See Deployment Options for a comparison.
Cluster structure
A Nomploy cluster is made of two node types:
- Servers — run Nomad and Consul servers that take part in the raft consensus. They provide high availability of the scheduler.
- Workers — run Nomad and Consul clients only. They add workload capacity without joining the raft.
The initial node created by install.sh is the control plane — a server that
also hosts the dashboard and database. See Architecture
for the full control-plane / worker model.
High availability
A cluster becomes highly available once it has 3 or more servers. Fault
tolerance is computed as floor((servers − 1) / 2) — so 3 servers tolerate 1
failure. Below 3 servers, the dashboard offers a button to provision the servers
you need.
Adding nodes
Open Nomad → Cluster in the dashboard. There are two ways to add a node:
1. One-click cloud provisioning
Use the Add node dropdown to provision a fresh cloud VM automatically:
- Add worker node — for extra capacity
- Add server node — to grow high availability
This requires the autoscaler to be configured with your cloud provider credentials and SSH keys (under Nomad → Autoscaling).
2. Bring your own server
To join a machine you already registered in Nomploy:
- Go to Add existing server
- Select an undeployed registered server
- Choose its role — Worker or Server
- Select Join cluster
Nomploy installs Docker, Consul, Nomad and WireGuard on the node and joins it to the mesh, streaming the logs live.
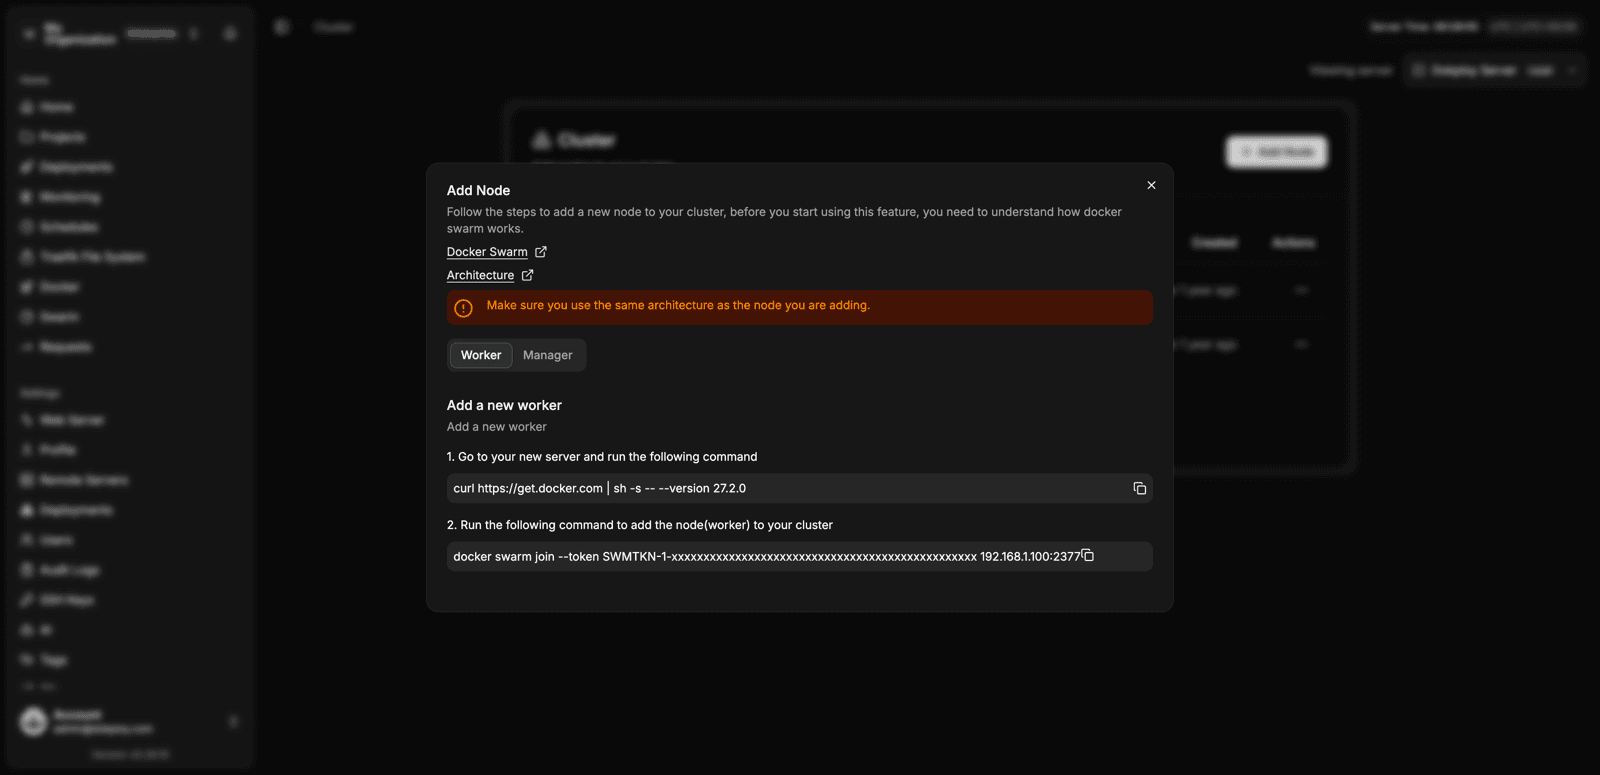
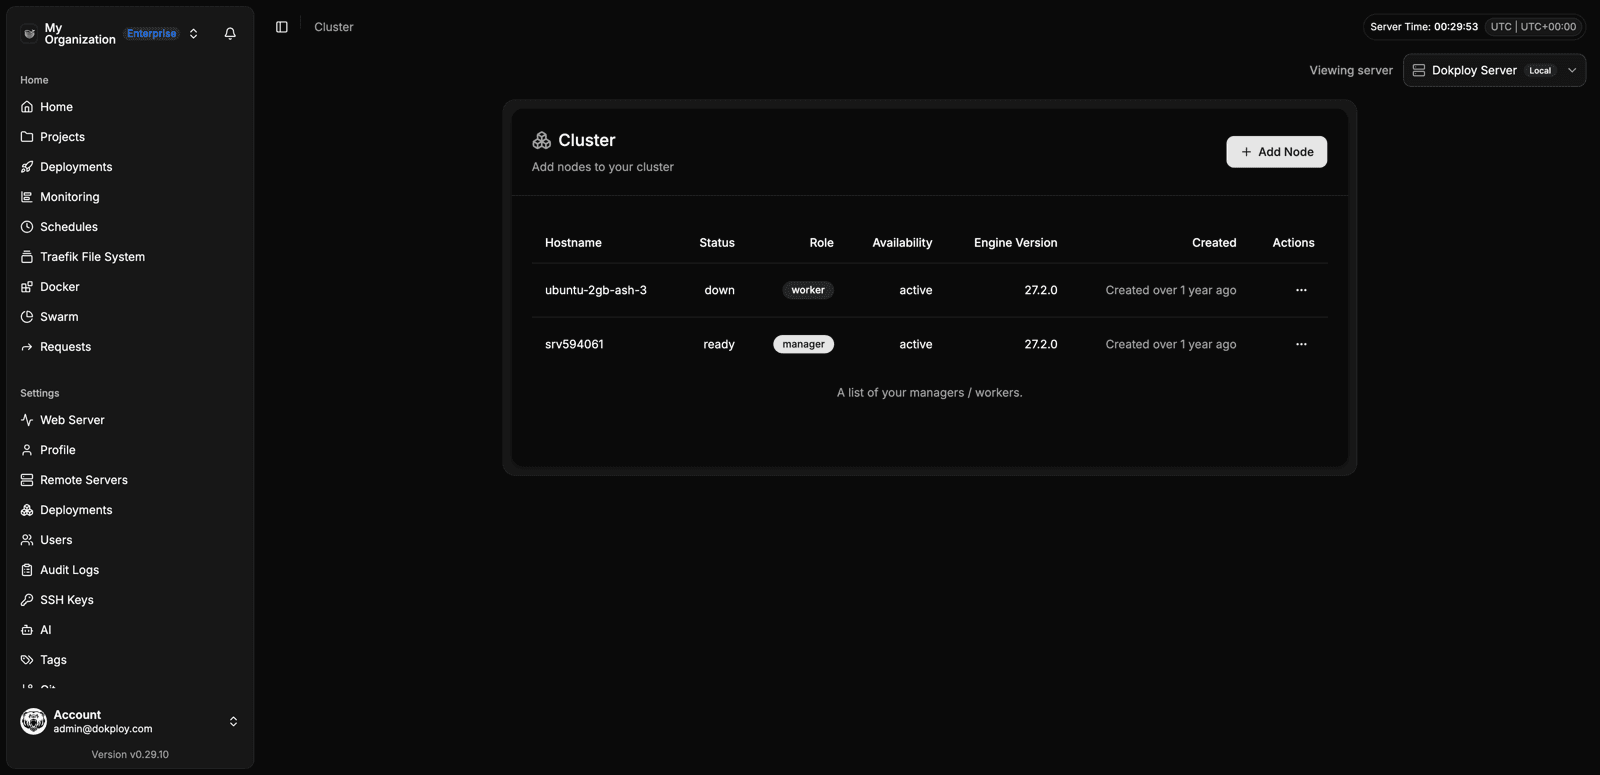
Once joined, the node appears in the cluster table.
Network requirements
For a node to join successfully:
- SSH from the control plane — the control plane must reach the new node on TCP (port 22 or your custom SSH port) to run the installation.
- WireGuard tunnel — the node must reach the servers on UDP/51820 to form the overlay mesh.
- Internal protocols — Nomad (4646–4648) and Consul (8300–8302, 8500, 8600) travel encrypted inside the WireGuard tunnel, so they don't need to be exposed publicly.
A freshly-provisioned cloud node often only allows SSH from your own IP, so the
control plane's IP is blocked and the join fails with "Timed out while waiting
for handshake". Open the firewall to allow inbound TCP/<ssh port> and
UDP/51820 from the control plane's IP — or, better, register the node on a
private network to avoid exposing it publicly.
Node operations
Drain (maintenance)
Select Drain (maintenance) from a node's actions to cordon it against new workloads and migrate its existing allocations off (5-minute deadline). Use it before a reboot or resize, then Resume (un-drain) to schedule onto it again.
Remove a node
Remove from cluster drains the node, stops its services, removes its WireGuard peer configuration from the remaining members, wipes its Nomad/Consul data, and destroys the cloud VM if Nomploy provisioned it.
- You cannot remove the last server.
- Removing a server that would drop you below 3 requires confirming Force (drop below 3 servers), which sacrifices HA.
Cluster DNS
Each server runs a DNS resolver for Consul service discovery
(<service>.service.consul). The dashboard shows a Cluster DNS status,
checking resolver health across servers every 30 seconds. Servers that joined
before HA DNS support may need dnsmasq backfilling, which the interface will
flag.
Storage cleanup: Nomploy does not automatically clean up storage on worker nodes. To reclaim space, add the node as a remote server and configure cleanups, or create a schedule that runs them. See the Remote Servers documentation.